Deferred Transparency In Which The Impossible Is Made Possible
TL;DR
I’ve added a form of transparency into my deferred renderer, Myre.
Deferred Renderers Hate Transparency
Deferred rendering is a pretty common technique rendering today, it is separate from the more traditional “forward rendering”. A forward renderer is a pretty basic concept, we just render each object one by one and each object takes into consideration all lights. So fundamentally the rendering algorithm looks like this:
for object in scene
  for light in scene
    render(object, light)
All we’re doing here is looping over the objects we want to be drawn, and drawing them. When an object is drawn it writes the final pixel colour values to the display. This has some pretty serious disadvantages. It should be obvious that the cost of rendering is proportional to the number of objects multiplied by the number of lights. Additionally because we can only pass so many parameters into a pixel shader we have a very small limit on the number of lights we can apply to the scene. Finally we have a lot of overdraw costs here - each item we draw does all the work to calculate pixel lighting and then could be overwritten by another object later.
A deferred renderer is a different approach:
for object in scene
    renderData(object)

for light in scene
    renderLighting(light)
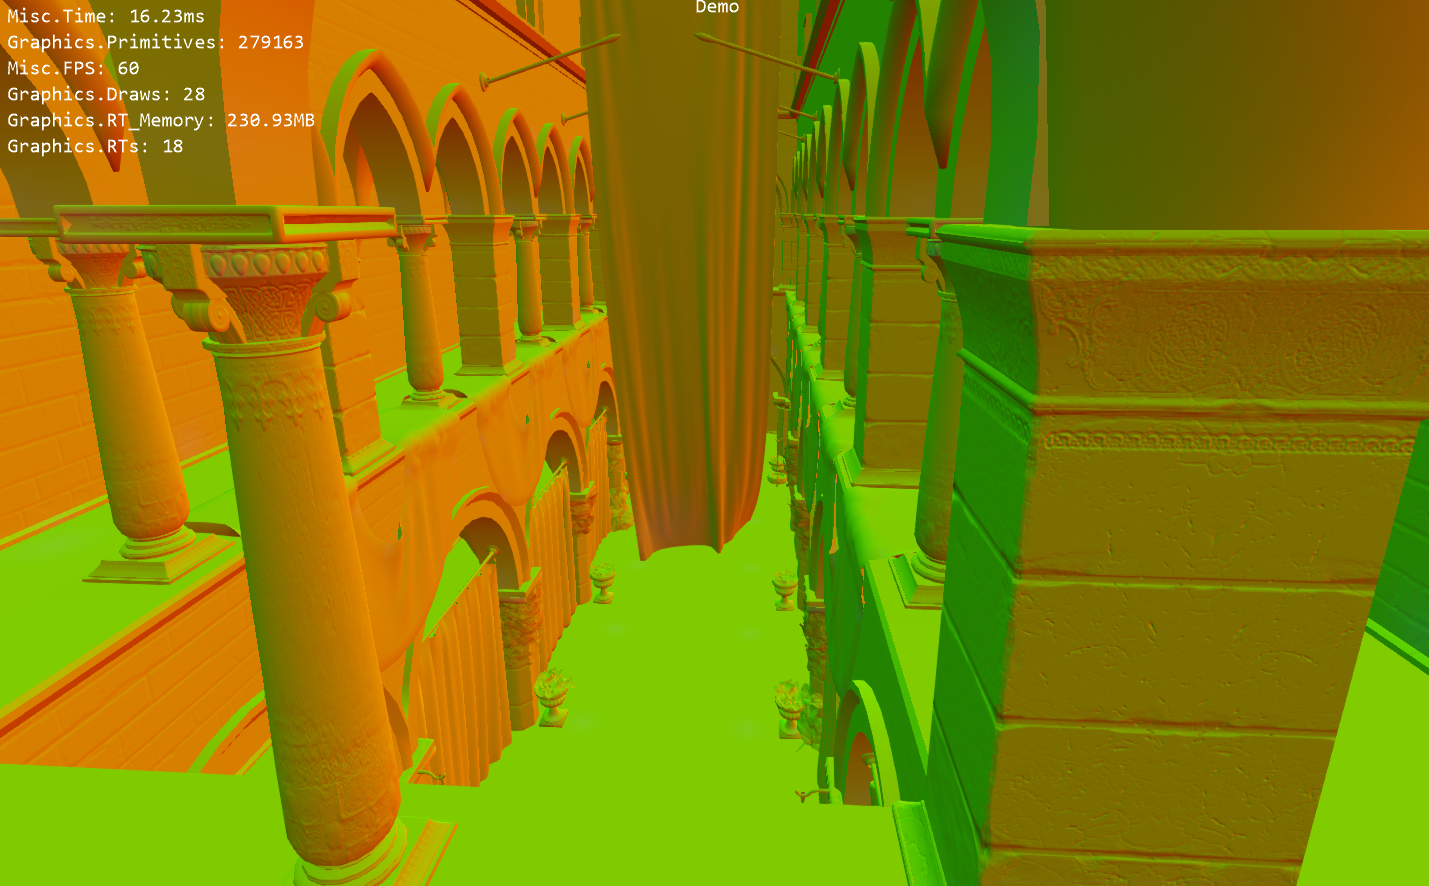
What we’re doing here is looping through the objects in the scene and rendering out data about the object into a buffer - things like surface colour, normal and shininess. This looks a bit like this:

We then loop over all the lights in the scene and calculate the final colour for each pixel on the display. This is a huge performance win because now the cost is proportional to number of objects plus number of lights! Also each light is renderer separately so we can have an unlimited number of lights. Finally we completely eliminate overdraw costs because the overdraw is in the (very cheap) renderData phase, not the costly renderLighting phase.
So this is great, deferred renderers save overdraw, decrease lighting costs and support unlimited lights - what’s the catch? The catch is that we cannot do transparencies! Each pixel in our data buffer has the information for one single object and transparency is fundamentally about having two objects contributing to a single pixel.
Making The Impossible Possible
We’ve established that a single deferred rendering pass can only draw opaque things, there are three solutions to this problem:
1. Stippled Transparency
One possible solution is to write both the pixels into the data buffer. Obviously it’s not possible to write two things into exactly the same pixel - but what if we wrote the information into two pixels very close together and then blurred them together later? This can definitely work and has the advantage of requiring no changes to the pipeline.
Unfortunately this technique has some serious practical limitations. Many shaders in the pipeline will sample a few nearby pixels from the data buffer (assuming that those pixels are likely to be from the same object). If you start interleaving objects like this a lot of effects can break. For example SSAO works by sampling the differences in depth and normal direction from pixel to pixel - interleaving like this makes SSAO go nuts. In the end you need to pack an object ID into every pixel, and then modify all your effects to check and handle the object ID.
2. Forward Rendering
Another solution is not to use a deferred renderer at all! All the opaque objects in the scene can be rendered with a deferred renderer as normal and then you can do another pass just for the transparent objects with a forward renderer.
This is a pretty good solution, using each renderer only for what it’s best at. Unfortunately it has a obvious drawback in that you need to build and maintain two completely separate renderers!
3. Multiple Depth-Peeled Deferred Passes
The final solution is to use multiple passes of a deferred renderer. In each pass we rerun the entire deferred renderer for a transparent object and then at the end we collapse the layers back down into a single layer, blending the colours appropriately for each pixel. This has the advantage that you already have the entire pipeline for deferred rendering, any effects that you apply to an opaque layer can be applied just the same to a transparent layer.
The primary disadvantage of this technique is we repeat the entire (costly) lighting stage for each layer.
This is the approach I have decided to use.
Depth Peeling
If we’re going to draw multiple layers of items we need to know what’s in each layer. The simplest way to do this would be to draw every transparent object in it’s own layer and then to merge all the layers back together. However this could end up with hundreds of layers, which would mean hundreds of lighting passes and that would bring even the most powerful GPU to a standstill! We need some better technique for packing items into layers.
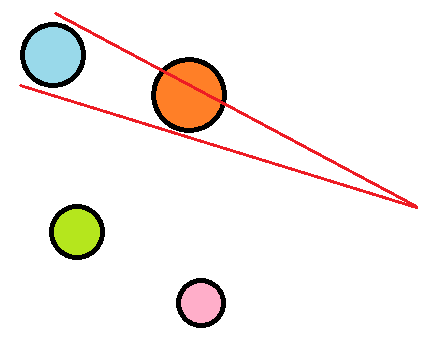
What we really want to do here is pack items which do not overlap in screen space into the same layer. Here’s an example scene (top down view):

The camera is a point on the right. The red lines show how the orange sphere overlaps the blue sphere. If we were packing this into as few layers we’d have two layers:
- Blue, Green, Pink
- Orange
If we render the blue+green+pink spheres first and then render the orange sphere second we’ll get all the transparencies correctly.
Finding overlaps is pretty easy, just project the bounding sphere of each item into screen space then perform a 2D intersection test. Finding the best way to pack the items into the smallest number of layers is still an open problem, my current solution has a limited number of layers (max 5) and then just puts each item into the last layer it can without causing an overlap. If it can’t put it into any layer the system gives up and sticks it in the first layer! A better system would consider how much error (number of overlapping pixels) is caused by putting each item into each layer and the globally minimising this.
Rendering each layer is pretty simple. Just rerun the entire deferred pipeline again, but only drawing items from the current layer. Also re-use the depth buffer from the previous layer/opaque stage and you get pixel perfect depth rejection.
Blending
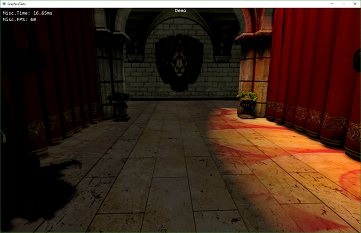
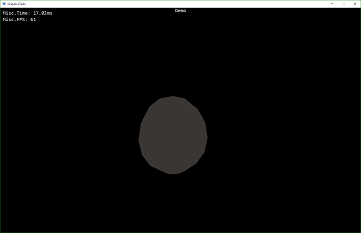
Once a layer has been rendered we need to blend that layer back into the result of the opaque rendering. At this stage we have two lightbuffers:


To blend them we render the geometry from this layer again. The shader this time can take in the two lightbuffers and blend them. It may seem like a waste to render all the geometry again, but this allows us to store information in the vertices as well as cutting down the copied pixels to only those pixels which are covered by geometry.
A clever little trick here is that for this stage we render the back geometry and flip around the cullmode. This means the vertex shader gets the back geomtry passed in, we’ll see why that’s useful in a second…
//Work out where on screen this pixel in. This tells us where we need to read from in the light buffers
float2 screenPos = input.PositionCS.xy / input.PositionCS.w;
float2 texCoord = float2(
	 (1 + screenPos.x) / 2 + (0.5 / Resolution.x),
	 (1 - screenPos.y) / 2 + (0.5 / Resolution.y)
);

//The normal buffer alpha channel set to zero if nothing was written here. Sample the value as use zero-values as an early exit (a kind of stencil buffer)
float4 sampledNormals = tex2D(normalSampler, texCoord);
if (sampledNormals.a == 0)
    clip(-1);

//This is the clever bit for back-face geometry. the depth of this vertex (input.Depth) is the back of the object...
//...while the value in the depth buffer is the depth from the front of the geometry we rendered before into the gbuffer!
//Thickness is easy to calculate.
float backDepth = input.Depth;
float frontDepth = tex2D(depthSampler, texCoord);
float thickness = (backDepth - frontDepth) * (FarClip - NearClip);

//This is the surface colour of the transparent object
float3 opaque = tex2D(transparencyLightbufferSampler, texCoord).rgb;

//This is the colour of the scene behind the object
float3 background = tex2D(lightbufferSample, texCoord).rgb;

//now blend them. Blending function varies per material
return Blend(opaque, background, thickness);
The great thing is that because we render all the geometry again we can run different shaders for different objects for the blending. By varying the blend function we can get effects like glass, marble, skin or wax.
Drawbacks
This technique, as I’ve implemented it at the moment, has a lot of drawbacks. It’s ok for my purposes because I basically just want it for rendering flat, non-overlapping windows on buildings.
Reflections
Currently there are no reflections. This isn’t really a drawback of the transparency rendering so much as it’s a drawback of the renderer as a whole. However transparent objects often have very pronounced reflections and so this becomes a real problem.
Concave Geometry
If an object overlaps itself we have a problem. This will not render properly at all and it will look like the occluded bit isn’t there at all! This isn’t a problem for me, because I want to draw nice planar sheets of glass which can’t possibly self intersect.
Backside Illumination
Light on the back of a transparent object can be important. For example if you hold your hand up to a bright light you see red illumination through the skin. Because this technique only works out the lightbuffer for the frontside geometry you can’t simulate that kind of effect. A possible solution for this would be to render two light buffers per pass, one special one which renders onto the backside of gbuffer geometry.
How Does This Help Heist?
I’ve kind of been quiet about Heist for a few months, hopefully this post will be the end of that! My “stealth mode” has been because I was talking (particularly in my videos) about fairly mundane features. These features are important but not particularly exciting. I’ve been working hard on the procedural generation so I can generate bigger scenes with greater fidelity - the plan being that if I’m going to demonstrate a mundane feature at least I can demonstrate it in a 2x2Km chunk of procedurally generated city!